Luigi Aldini |
|
|
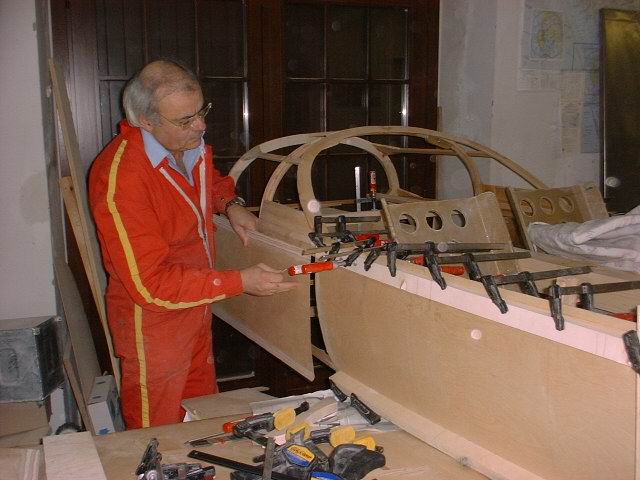
Preparation before gluing the third panel of plywood. We used staples only for the first panel, while for the other two we found another method to work better. These panels are much longer and have different bends. First part of the process is bending the plywood with hot steam. The panels are left in position for a couple of days. Then the second step is to draw the inside to have the shape of the frames and longerons always visible, and to have the right scarfing surface. Then you have to glue the whole; first we used the alignment nails so that the plywood is in position (the holes for the nails have to be drilled when the plywood is correctly bent -- if not it isn't going to work), then we started clamping in the center of the panels moving to the sides. As it can be seen we used two pieces of wood to apply pressure equally on all the panel. This gives also another advantage: the plywood stretches and lays on the frames and longerons without having "bubbles". Firstly we glued the upper wood. |
|
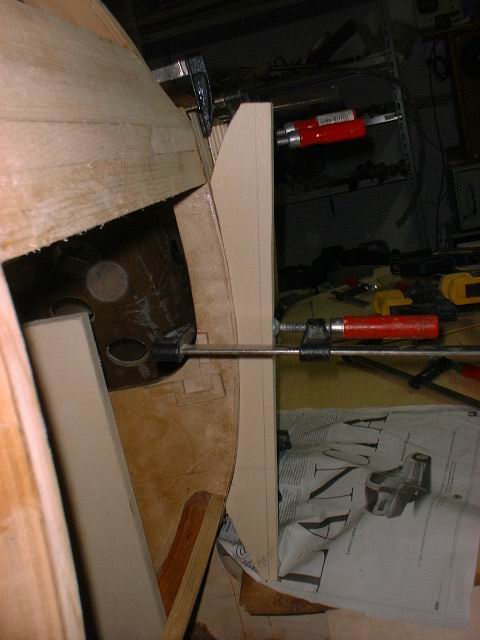
Then, to close the sides we made these jigs. They proved to work good. Their purpose is similar to the upper and lower wooden stripes. In the first moment the clamp is not strongly closed, to allow the plywood to expand at the sides. Before we closed the lower wooden stripe. Then, when the plywood had moved completely it was time to apply a strong clamping pressure. |
|
NACA on plywood. It seems that is fitting. |
|
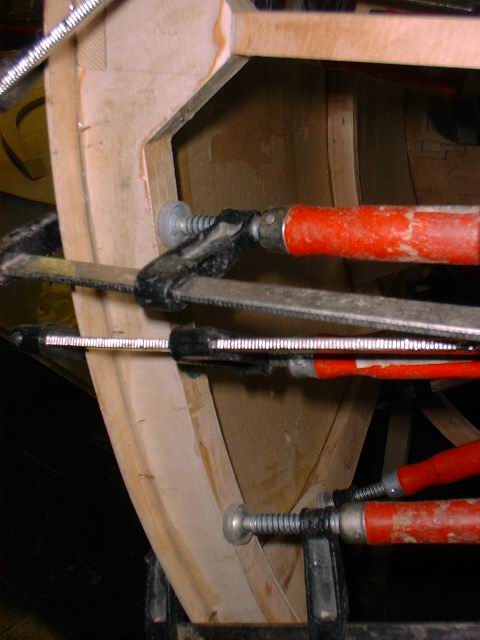
At Frame 8 we found it more useful to use clamps. All the glue has squeezed out of the plywood. |
|
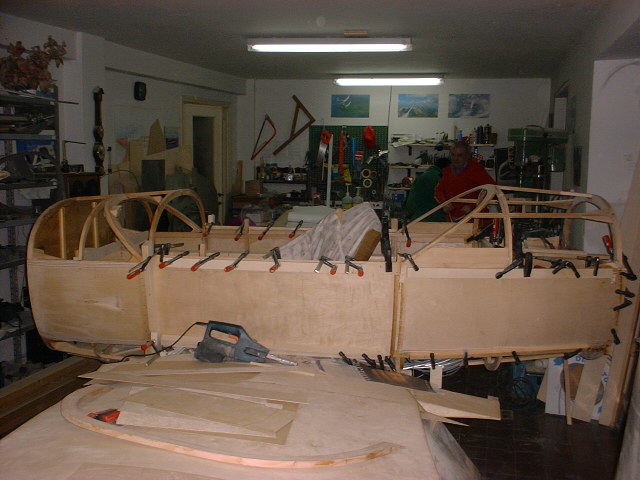
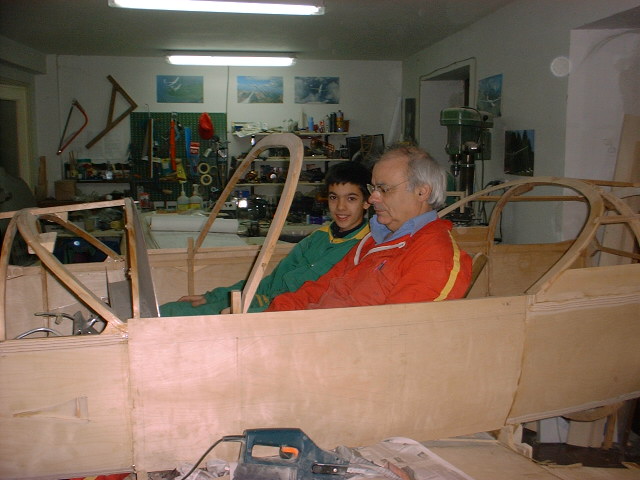
The first ride on I-ALDI! It's taking shape and starting to look a real airplane -- a happy moment! |
![]()
![]()
|
|
Go back to Luigi Aldini