|
|
|
Import Shapefiles The ESRI shapefile, or simply shapefile, is a popular geospatial vector data format for geographic information system (GIS) software. Shapefiles are simple because they store primitive geometric data types of points, lines and polygons. The shapefile is actually a set of several files, three are mandatory but of these only the .shp files are imported here. The other files include information such as street names, population and other attributes but these are not imported here. The files are stored in a coordinate system which specifies the unit values and location of the system origin, which is stored in the .prj file which is a plain text file. Shapefiles from one coordinate system can and should be imported together so that they stay in relation to each other. Before you attempt to import a shapefile, you should first determine if the units in the file are feet or meters. If they are feet, then set the dimension units of the PowerCADD drawing to decimal feet. If they are meters, then set the dimension units of the PowerCADD drawing to decimal meters. The shapefile importer simply looks to see if the dimension units are metric or imperial, but it makes more sense to choose decimal feet or meters. Shapefiles always cover very large areas so the objects will be much too large to fit on a PowerCADD drawing. When you import the objects for the first time, the objects will be placed in a single group on a new layer with a custom scale. To import the shapefiles, choose Import, Shapefiles... from the PowerCADD File menu, then drag any number of .shp files into the window. |
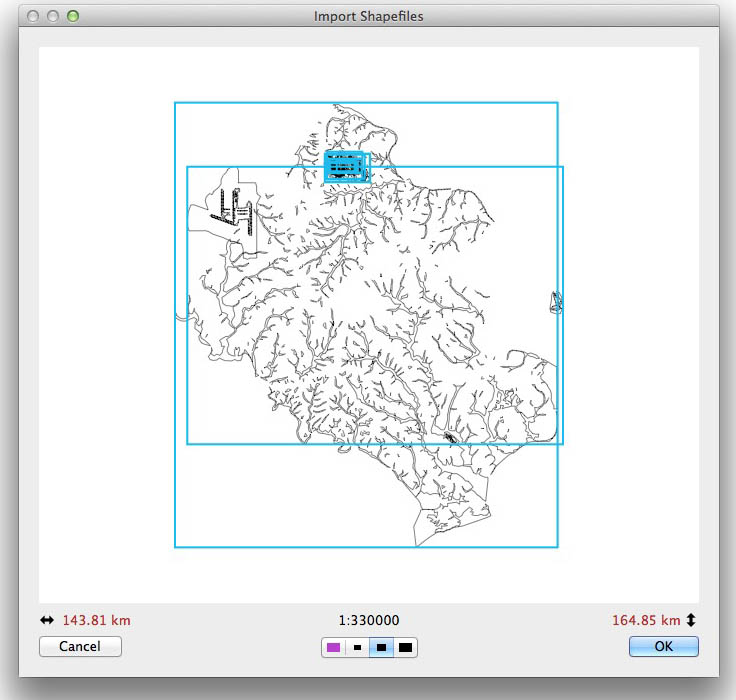
The shapefile images will show in the window, with a blue bounding box for each file. You may drop files individually and on top of other files to replace the files. This gives you the opportunity to review each file before you look at them all together. The width and height are shown on the left and right. In the center is shown the scale needed for the PowerCADD drawing.
A button shows four choices. The first choice is for no scaling. If the images are too big to fit on the drawing, then the files will be scaled as necessary to fit on the page and will be placed as a single group. This is a poor choice, and it will be shown in a purple color because WildTools is 'embarrassed' at your poor judgement. However, if it will fit, then it will have a green checkmark on this button. The other three choices are for 60%, 80% and 100% and a scale will be selected and this scale is shown directly above the button. |
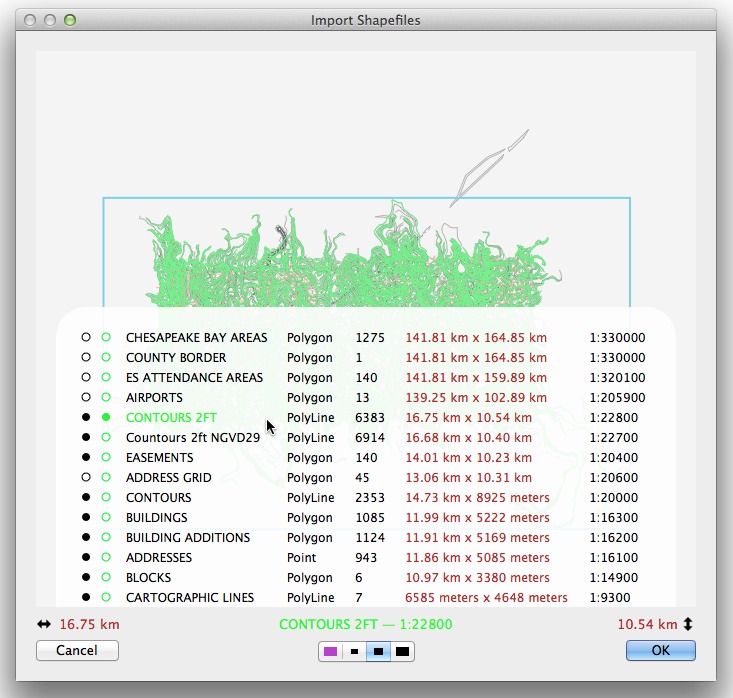
Move the mouse into the sample window, and you will see a list of the files. These are sorted with the largest images listed first, so you can 'zoom in' by turning off the largest files. |
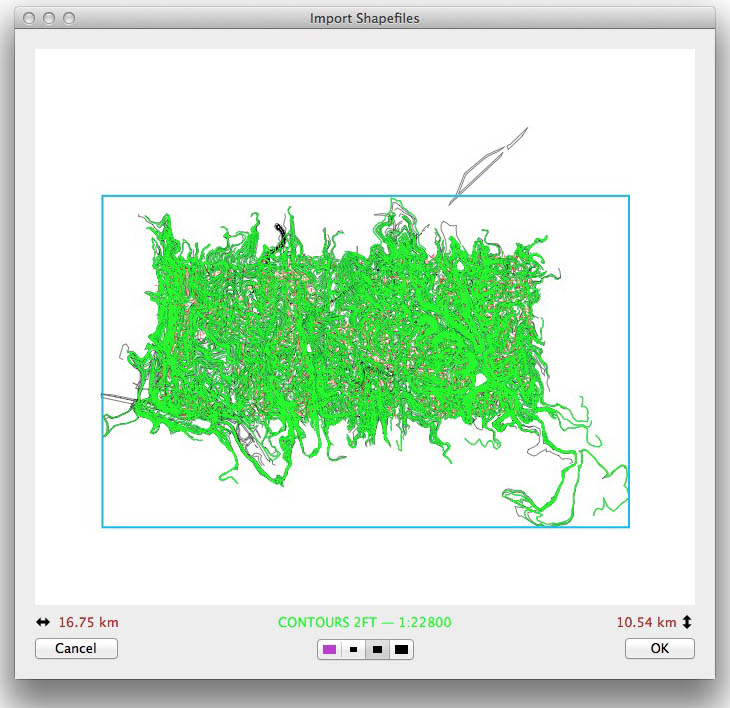
| You can select which files are visible, and you may highlight one file. To the far right in the list of files is a scale that will match your 60-80-100% choice. |
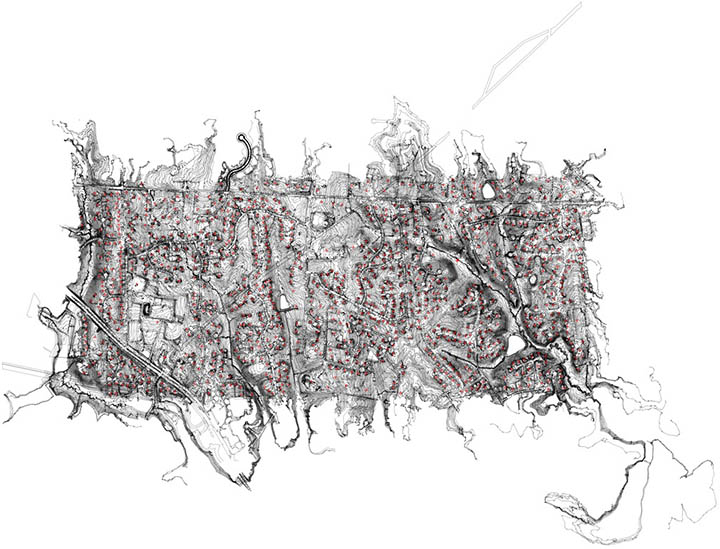
Click on the OK button to import the files, which will be imported into separate layers. The drawing scale will be changes to meters, kilometers, feet or miles depending on the size of the images, and a global origin will be set for the drawing to match the shapefile coordinate units. At this time, the global origin is not calculated correctly, however you can manually set this yourself. There is an Import Shapefile Report layer created in the drawing, with the bounding boxes for each of the files. The first and largest file has the coordinates for the bounding box in meters or feet. You can use the Drawing Benchmark tool in TopoTools to set the global origin. It is important to only import a set of files that are from the same coordinate system. While you can import drawings of highways in Italy with railroads in Ohio, you're going to get uncoordinated geometry in the drawing. |
![]()
Go back to WildTools